Instagram has transformed into a leading platform for influencer marketing, allowing brands to reach and engage their target audience through trusted voices. With millions of influencers across various niches, identifying the right ones for your brand can be challenging. However, leveraging the right tools and strategies can make this process seamless and highly effective.
In this guide, we will walk you through a detailed step-by-step approach to finding the best Instagram influencers for your brand. You’ll learn how to analyze influencers, evaluate their engagement, and use advanced tools to streamline influencer discovery, collaboration, and performance tracking. Whether you’re looking for micro-influencers with high engagement or macro-influencers with a massive reach, this guide will help you make well-informed decisions.
Why Instagram Influencers Are Important for Your Brand
Influencer marketing is one of the most effective ways to grow a brand, with studies showing that 49% of consumers depend on influencer recommendations when making purchasing decisions.
Some key benefits of partnering with Instagram influencers include:
- Higher Engagement Rates: Instagram influencers have a loyal audience that trusts their opinions and recommendations.
- Increased Brand Awareness: Working with popular influencers can expose your brand to thousands or even millions of potential customers.
- Targeted Marketing: Collaborating with niche influencers ensures your message reaches the right audience.
- Authenticity and Credibility: Influencers provide genuine endorsements, which are more effective than traditional advertisements.
Step 1: Define Your Goals and Target Audience
Before searching for Instagram influencers, it is essential to define your marketing goals. Understanding what you want to achieve will help you find the right influencers for your campaign.
Some common goals include:
- Brand Awareness: Partnering with macro or celebrity influencers to reach a wider audience.
- Customer Engagement: Collaborating with micro-influencers who have strong connections with their followers.
- Sales and Conversions: Working with niche influencers who can drive direct purchases through authentic recommendations.
Additionally, analyze your target audience by considering factors such as:
- Demographics (Age, Location, Gender, Interests)
- Content Preferences (Videos, Stories, Reels, Static Posts)
- Social Media Behavior (What type of Instagram influencers they follow and engage with)
Step 2: Use Instagram’s Built-In Search Tools
Instagram provides several features that can help you find relevant Instagram influencers within your niche.
-
Hashtag Search
Hashtags are an excellent way to discover Instagram influencers. Search for industry-specific hashtags such as:
- #BeautyBlogger (For beauty brands)
- #FitnessInfluencer (For fitness-related brands)
- #TechReview (For technology products)
Once you find potential influencers using hashtags, review their profiles to assess their content quality and engagement.

-
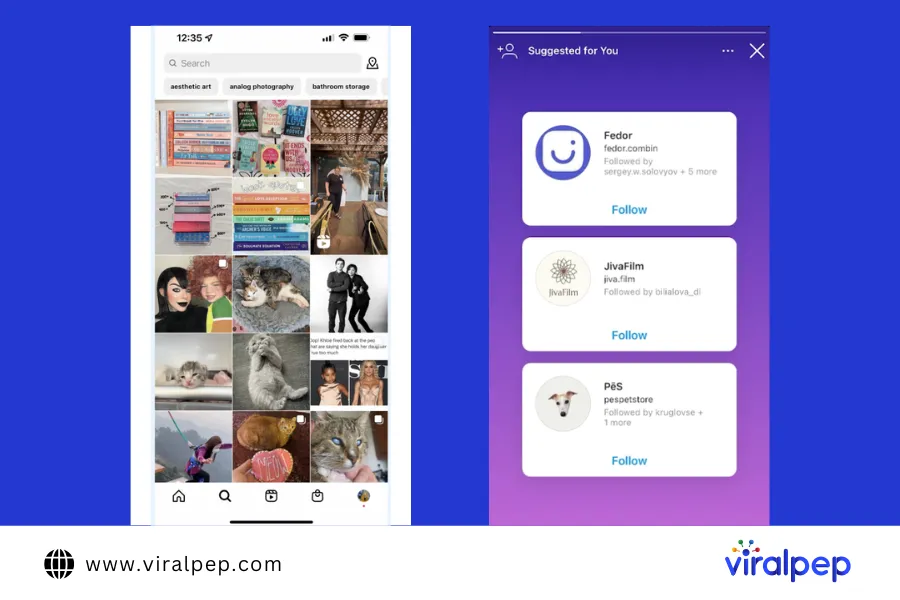
Explore Page and Suggested Accounts
Instagram’s Explore Page suggests popular content based on user activity. You can also check the “Suggested for You” section when viewing an influencer’s profile to find similar creators.
-
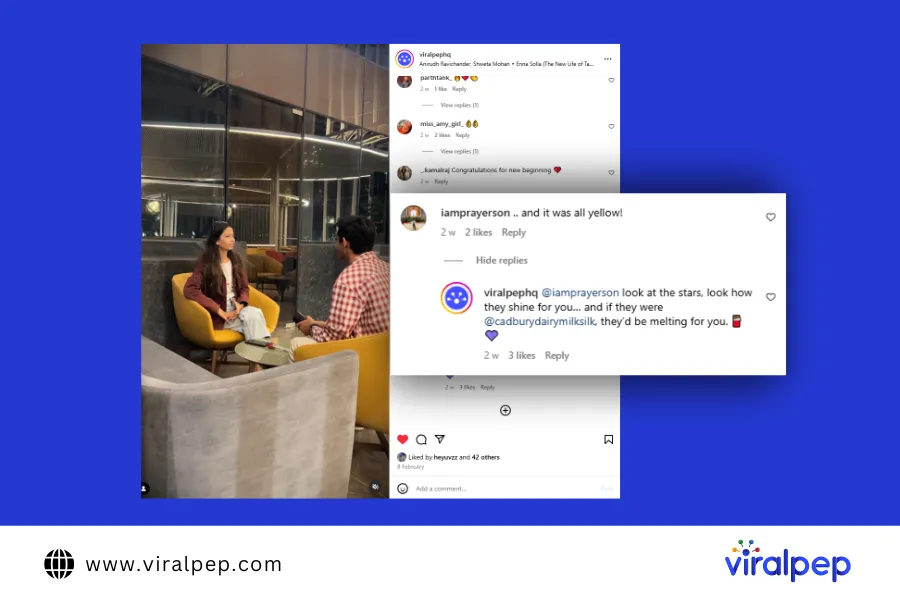
Engagement With Brand Mentions
Monitor posts where users mention your brand. This is a great way to identify Instagram influencers who already appreciate your products and have an organic interest in your brand.
Step 3: Leverage Influencer Discovery Tools
Several online tools can help you streamline the process of finding Instagram influencers. Here are some of the best ones:
-
Upfluence
Upfluence is a data-driven influencer marketing platform that helps businesses search for Instagram influencers, manage campaigns, and track performance.
-
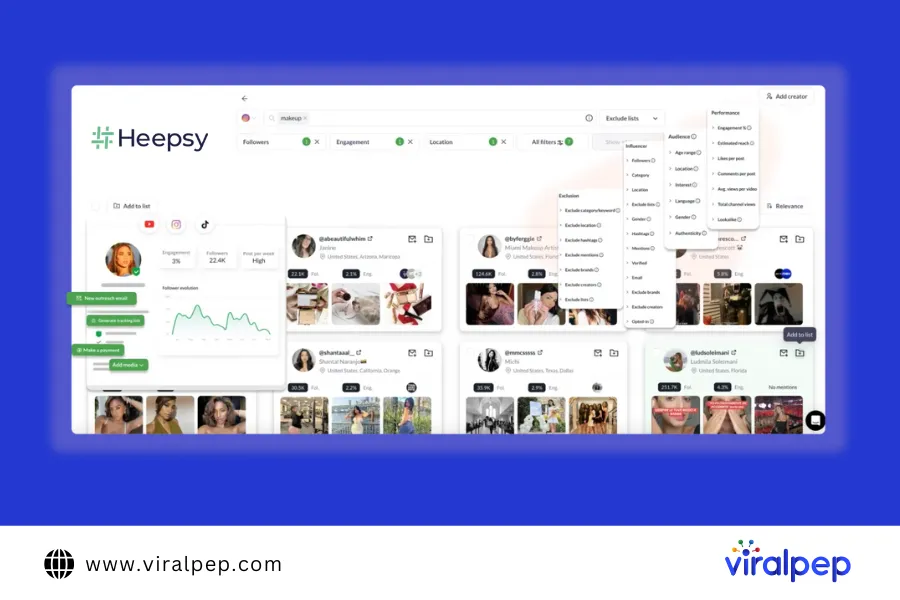
Heepsy
Heepsy is one of the best platforms to find influencers across different niches. It specializes in discovering micro and macro-influencers while analyzing their engagement rates, audience authenticity, and demographics to help brands choose the right partners.
-
HypeAuditor
This tool provides deep analytics on Instagram influencers, including audience authenticity, engagement quality, and follower demographics.
-
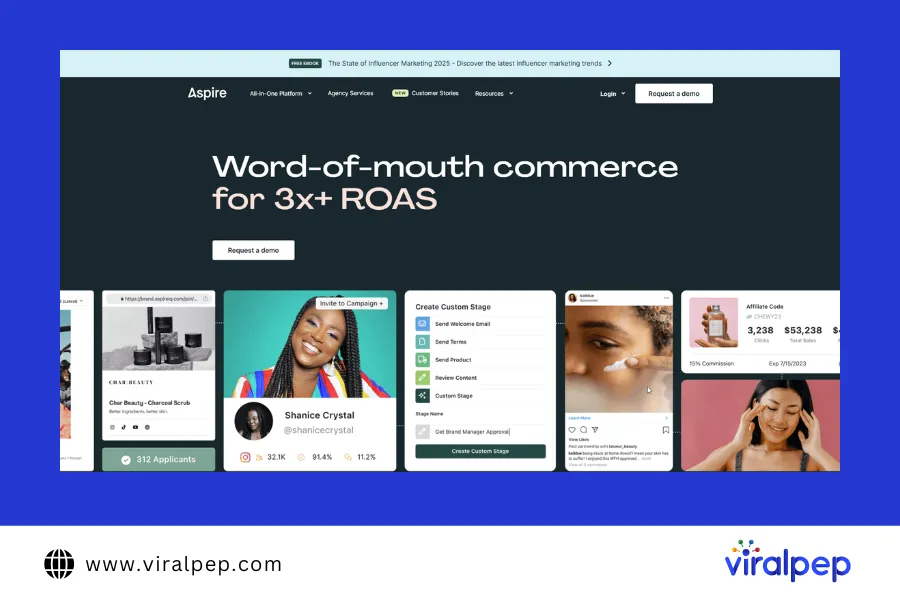
AspireIQ
AspireIQ connects brands with Instagram influencers and offers campaign management features.
Step 4: Evaluate Influencer Authenticity and Engagement
Not all Instagram influencers provide real value. Some may have fake followers or artificially inflated engagement rates. Here’s how to ensure authenticity:
-
Check Engagement Rate
A high follower count does not guarantee real influence. A good engagement rate is around 2-4% for macro-influencers and higher for micro-influencers.
-
Analyze Audience Demographics
Ensure that the influencer’s audience matches your target customer base. Use analytics tools to get insights into follower location, age, and interests.
-
Look for Genuine Interactions
Review the influencer’s comments and interactions. Authentic Instagram influencers have meaningful conversations with their audience rather than just generic comments like “Nice post!”
-
Identify Fake Followers
Watch for sudden follower spikes, low engagement rates, and bot-like comments, which indicate purchased followers.
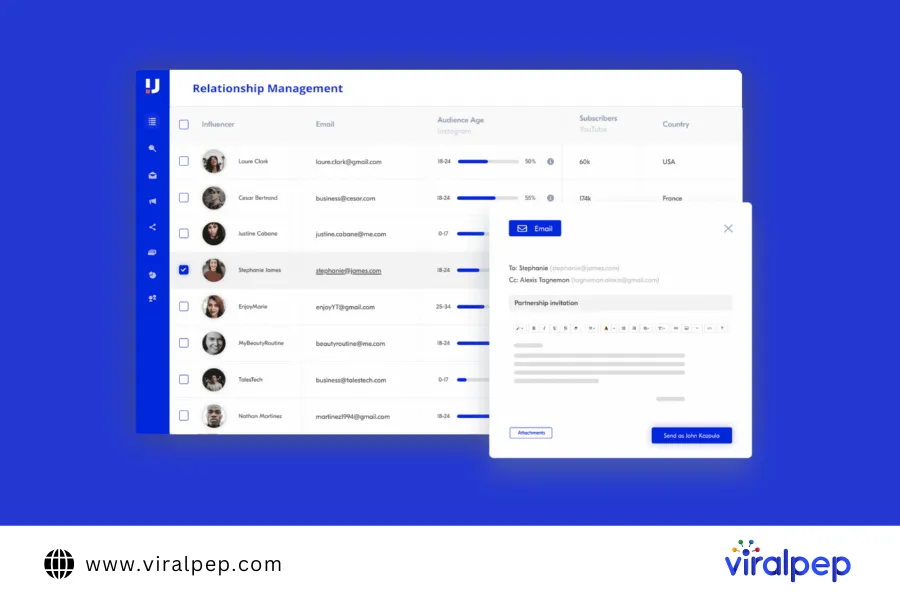
Step 5: Reach Out to Influencers
Once you have identified suitable Instagram influencers, follow these steps to initiate collaboration:
-
Engage With Their Content First
Like, comment, and share their posts before reaching out to build rapport.
-
Send a Personalized Message or Email
Avoid generic messages. Instead, craft a personalized outreach:
“Hi [Influencer’s Name], I love your content, especially your recent post about [topic]. Our brand [brand name] aligns with your style, and we’d love to collaborate. Let’s discuss how we can work together!”
-
Offer Value
Instagram influencers receive numerous collaboration requests, so make yours stand out by offering:
- Competitive compensation
- Free products
- Long-term partnerships
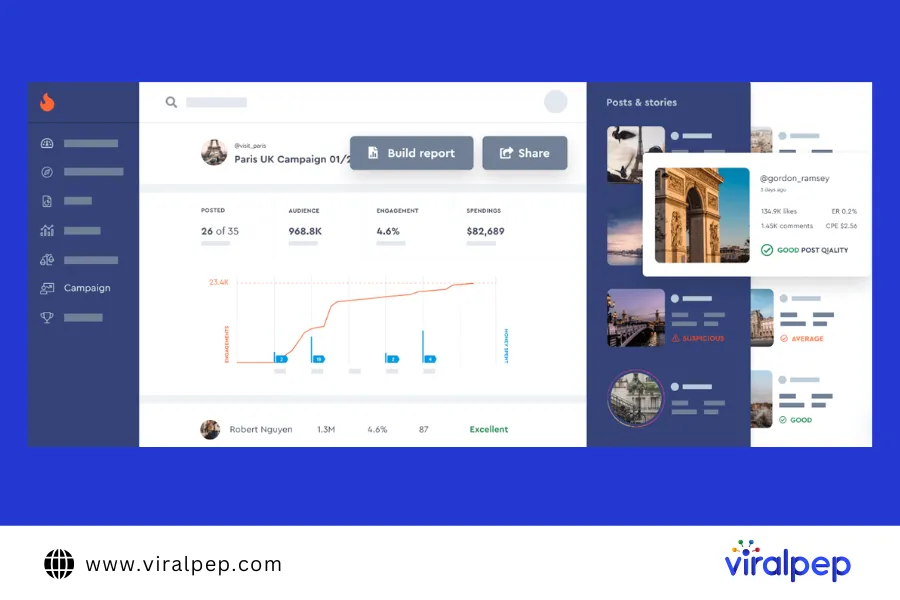
Step 6: Track and Measure Performance
Once you start working with Instagram influencers, track the campaign’s effectiveness using analytics tools. Key metrics include:
- Engagement rates (likes, shares, comments)
- Website traffic from influencer posts
- Conversion rates and sales
Conclusion
Finding the right Instagram influencers is crucial for a successful marketing campaign. By defining clear goals, using Instagram’s search features, and leveraging powerful influencer marketing tools, you can streamline influencer discovery and management.
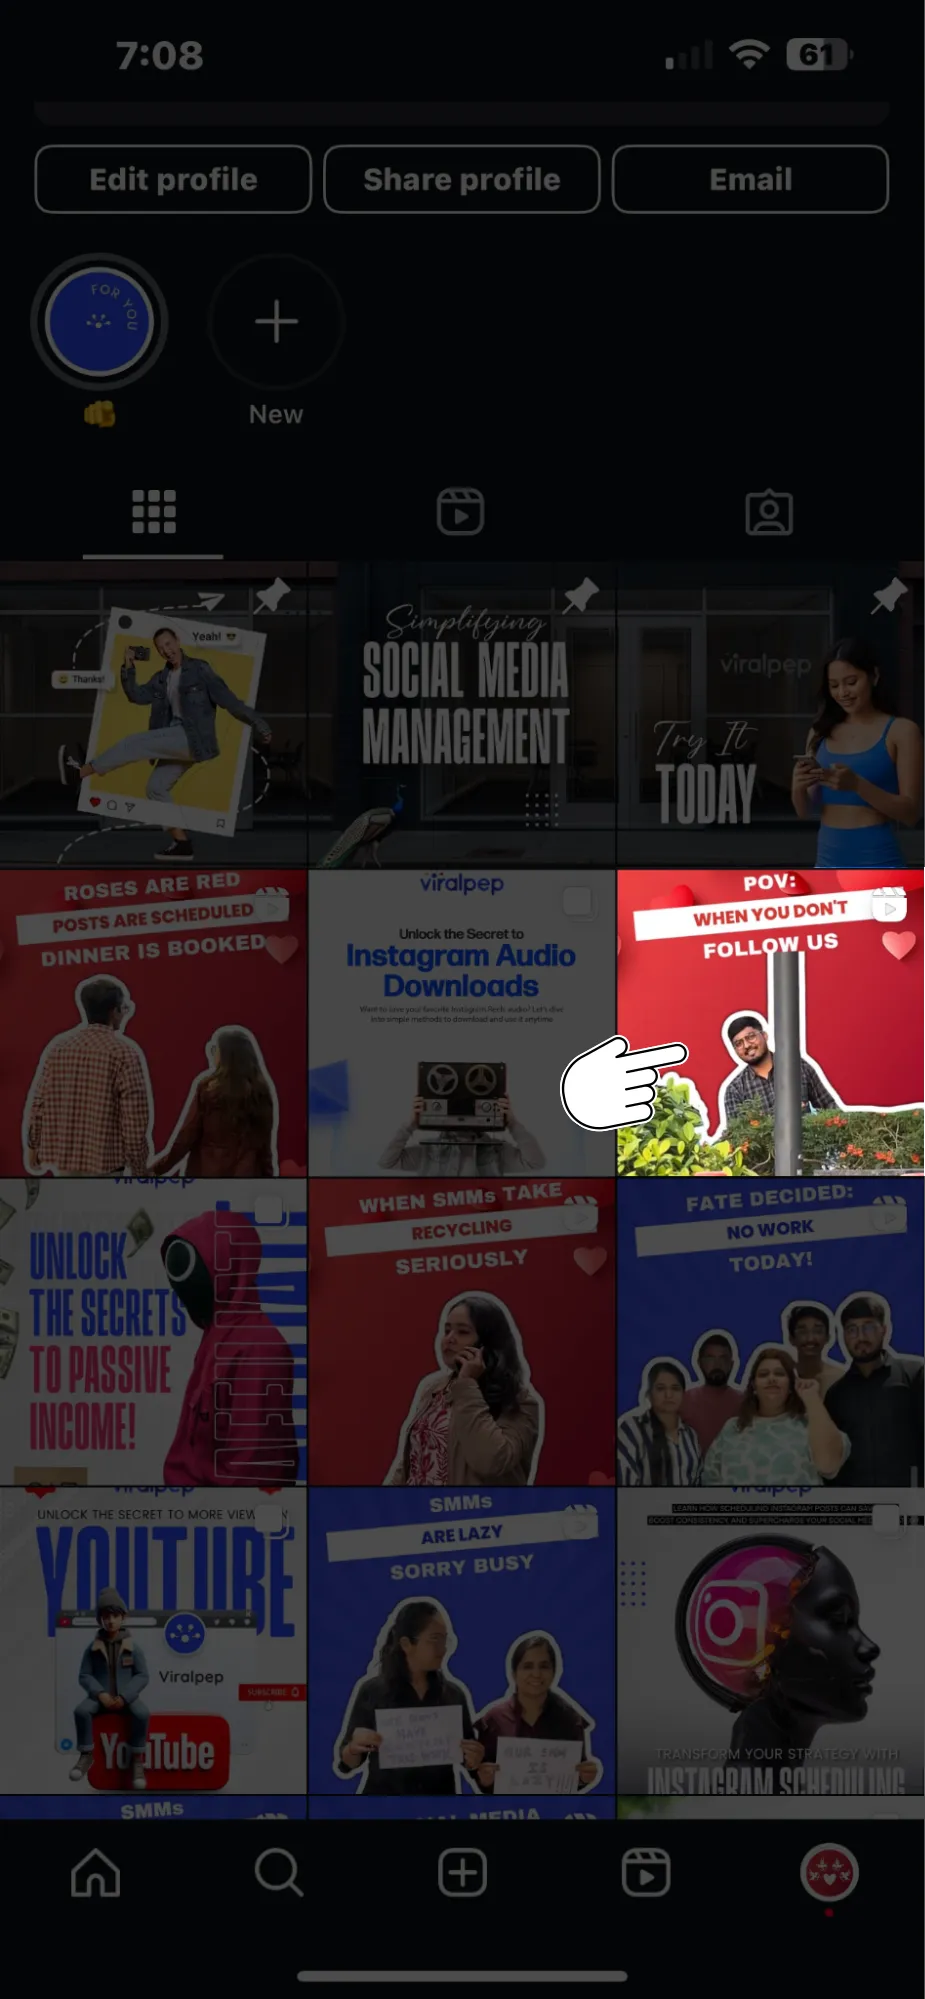
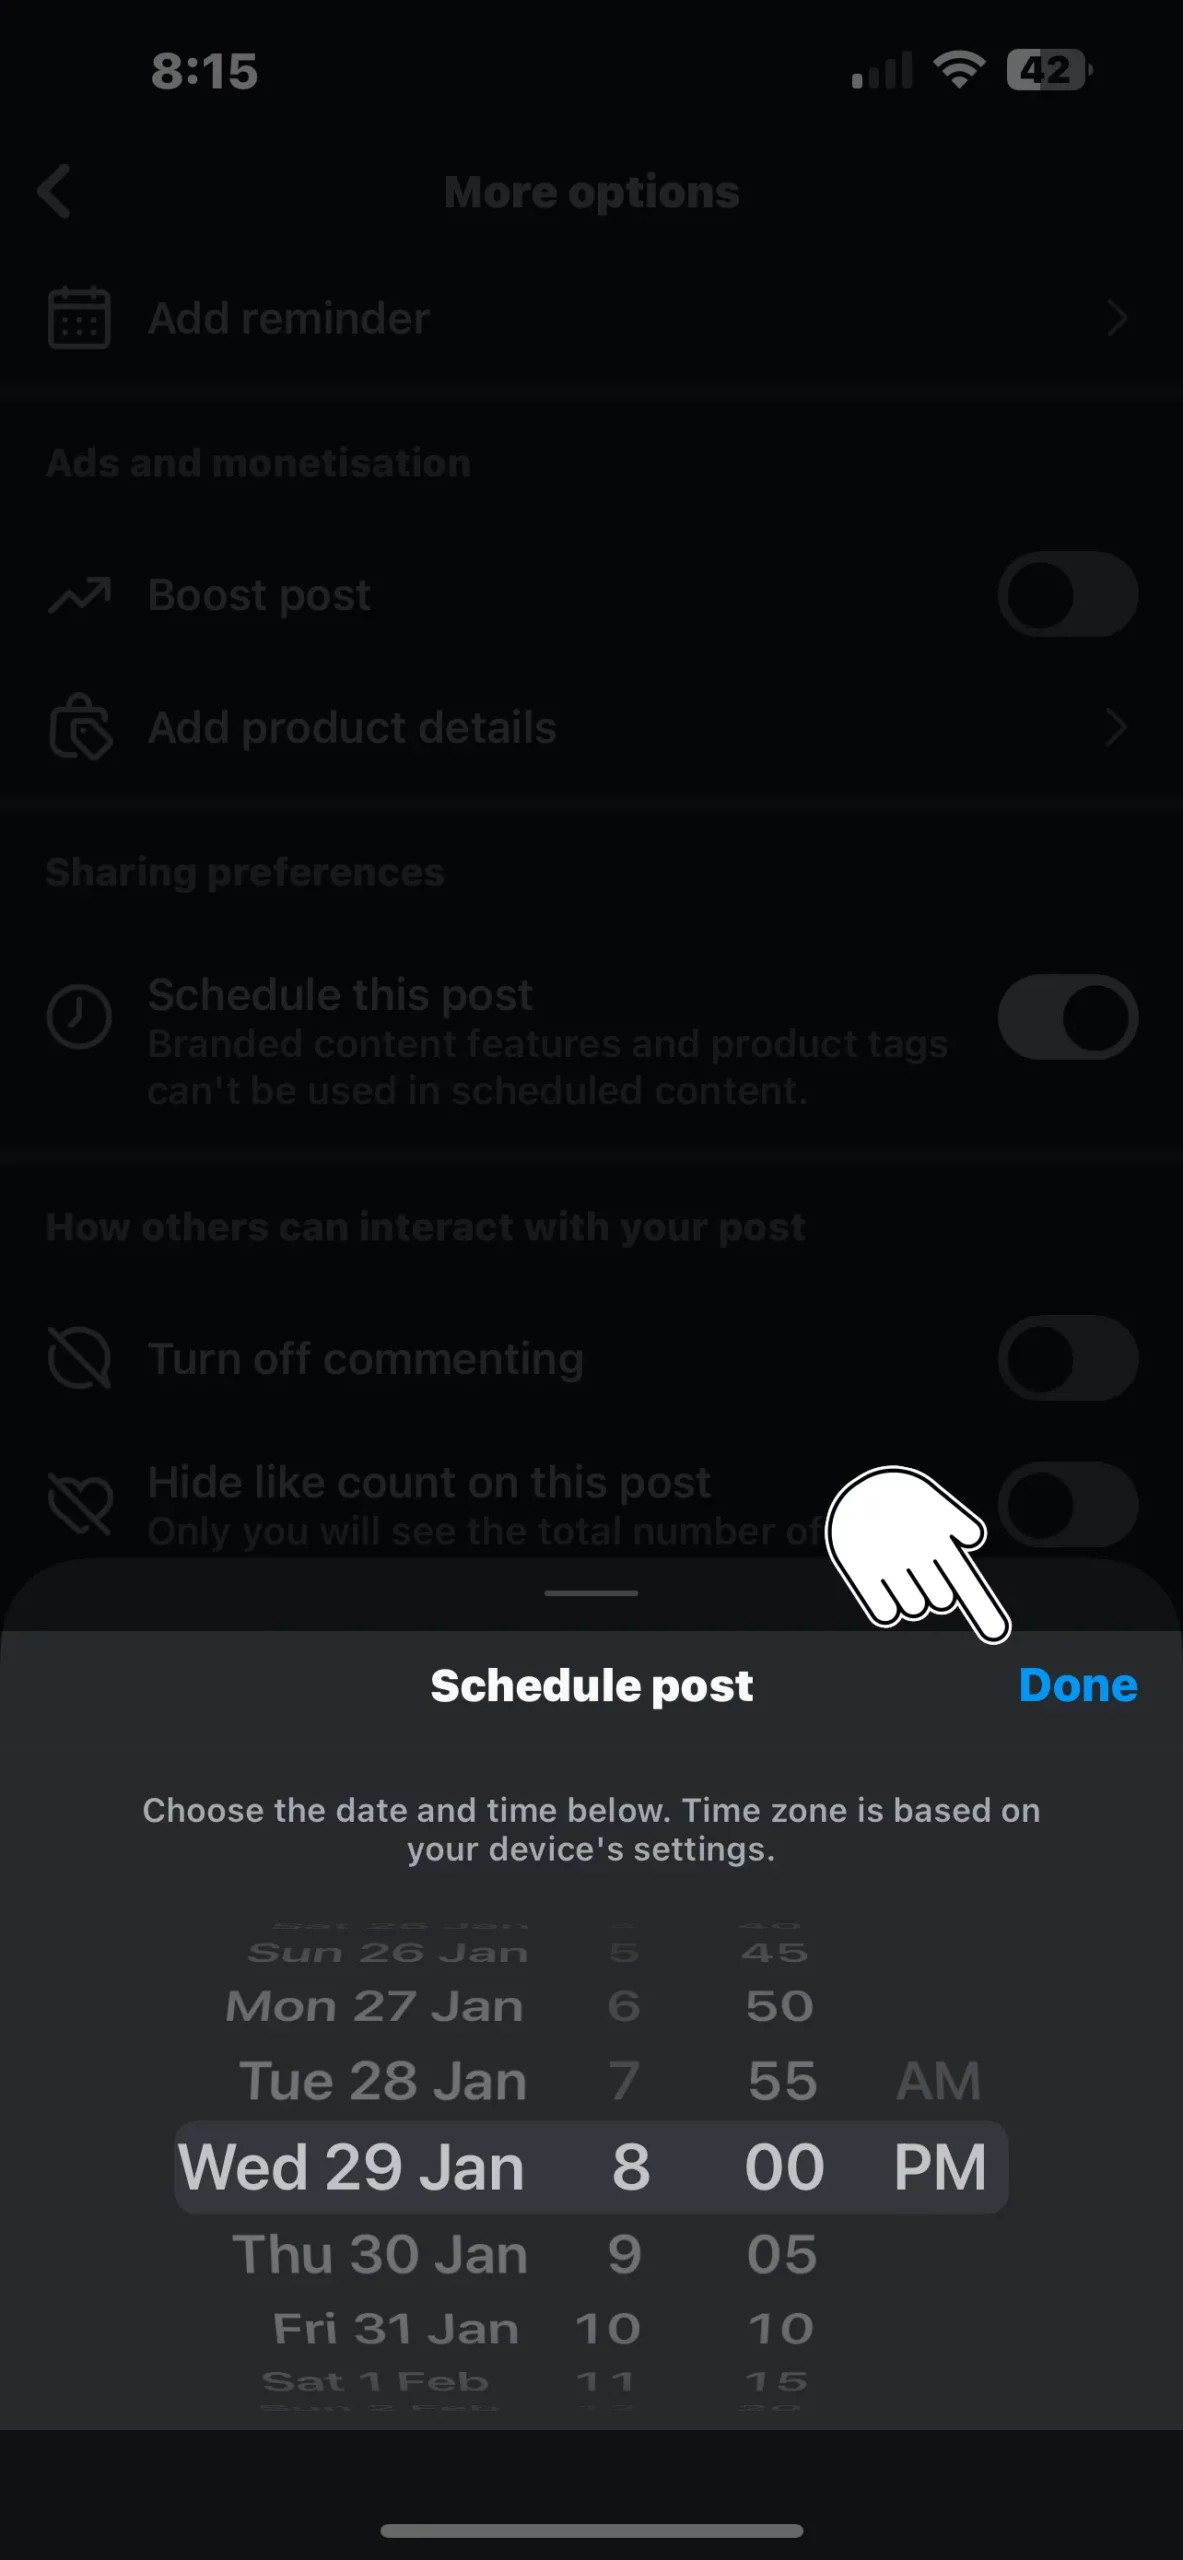
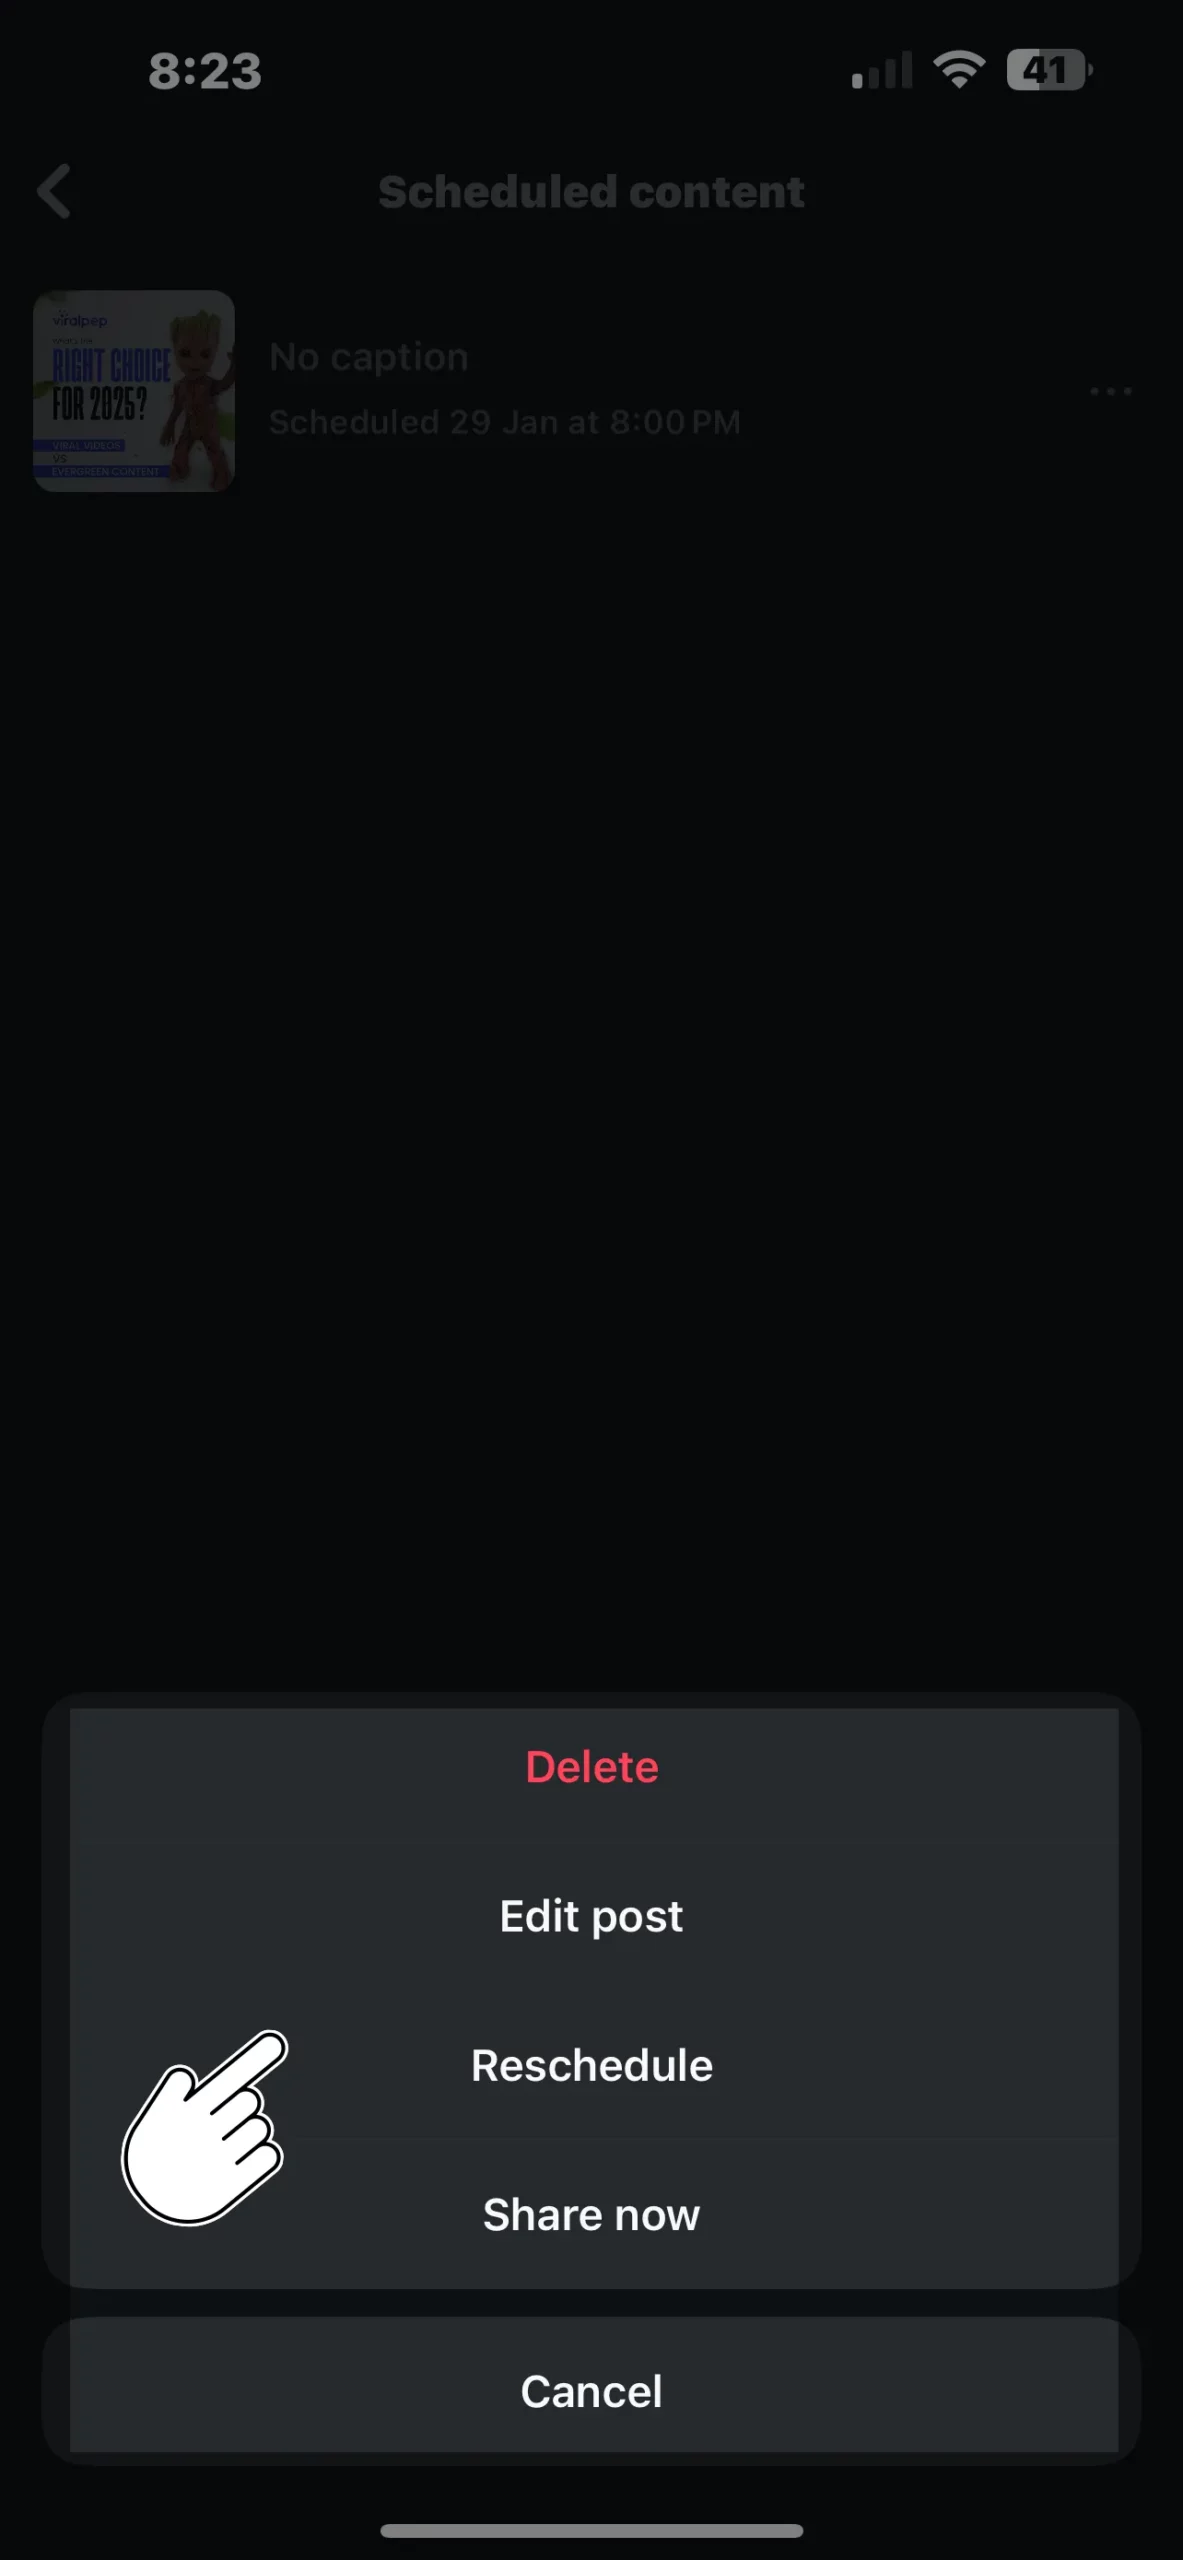
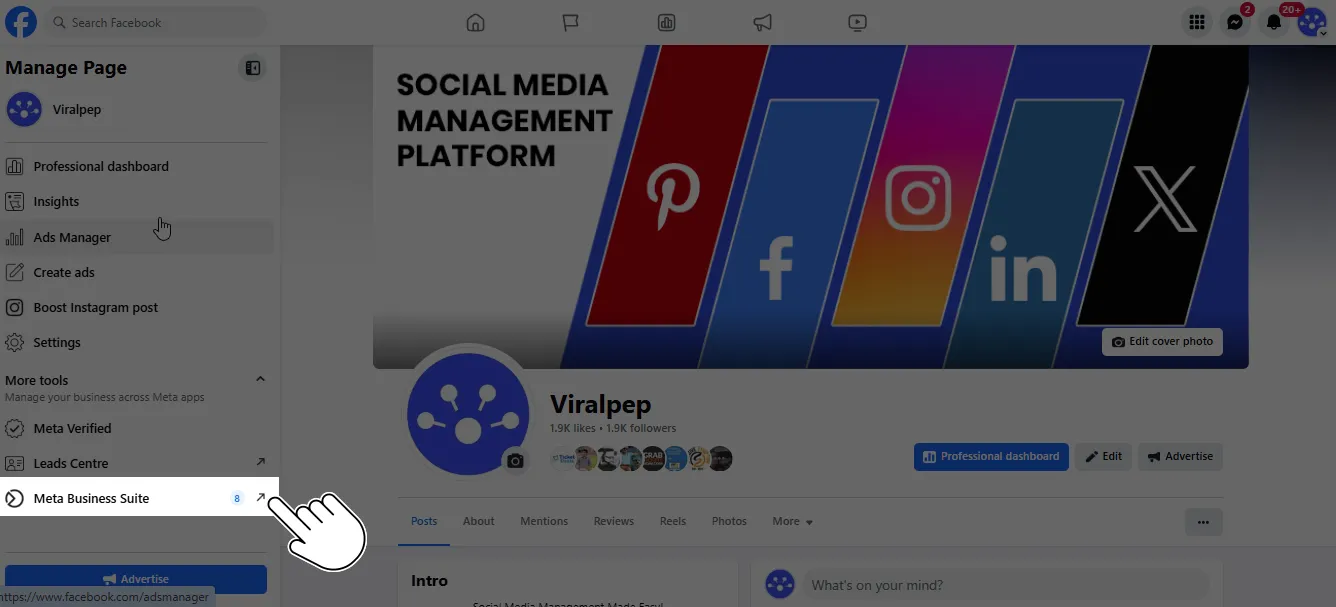
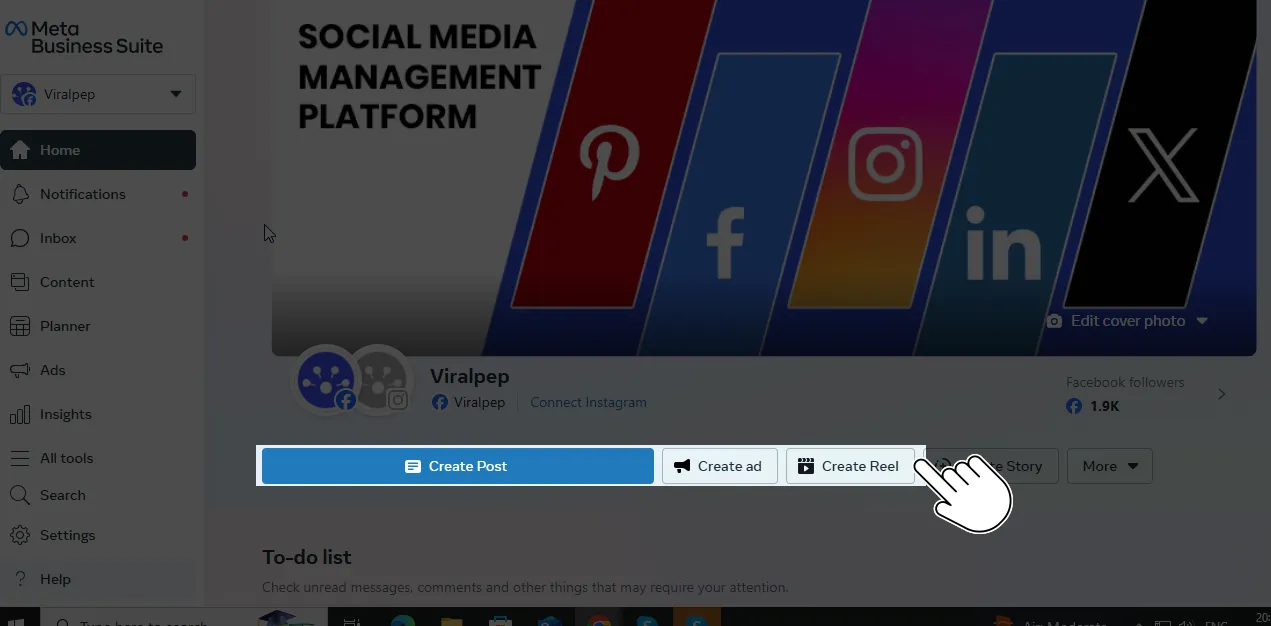
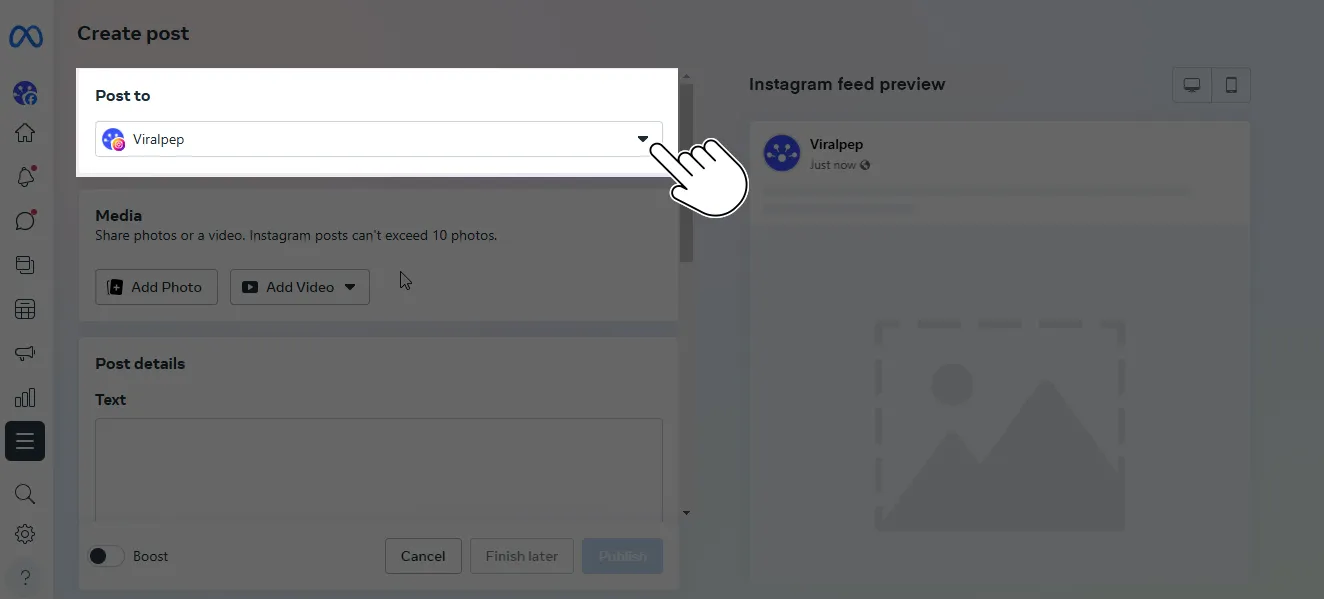
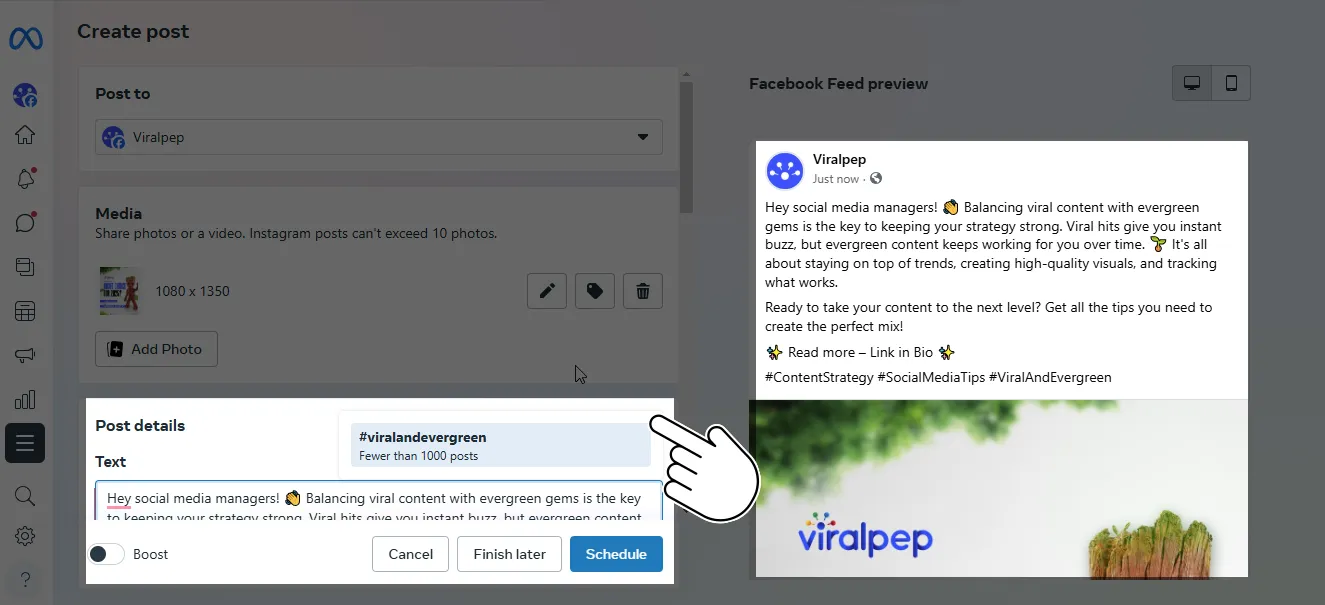
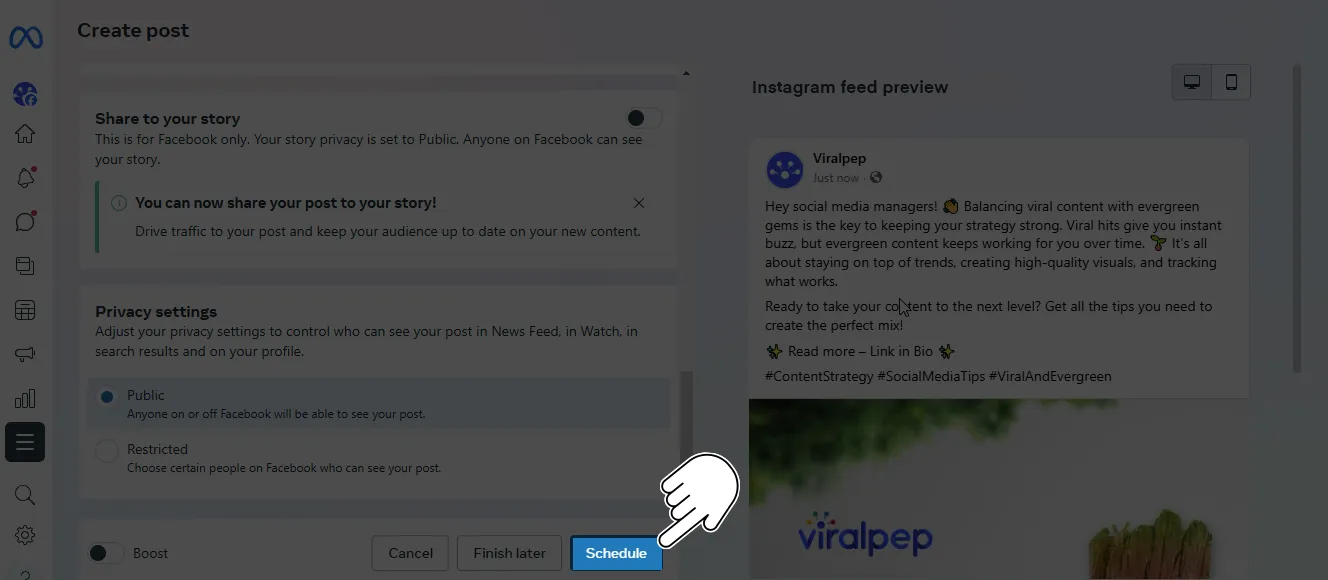
Additionally, using a reliable social media management tool like Viralpep helps brands schedule and publish social media, create social media content efficiently, collaborate with teams, and analyze campaign performance. Although Viralpep is not an influencer discovery tool, it enhances social media marketing strategies by improving workflow, scheduling, and analytics.
By following these steps, you can build authentic influencer partnerships, maximize engagement, and drive real business growth. Start leveraging influencer marketing today to elevate your brand’s reach and credibility!
FAQs
How do I find Instagram influencers for free?
You can use Instagram’s hashtag search, Explore Page, and suggested accounts to find influencers without paid tools.
What is the best tool to find Instagram influencers?
Platforms like Upfluence, Heepsy, and HypeAuditor are great for discovering and analyzing Instagram influencers.
How do I verify an influencer’s authenticity?
Check their engagement rate, analyze their audience demographics, and use tools like HypeAuditor.
Should I work with micro or macro-influencers?
Micro-influencers have better engagement, while macro-influencers provide wider reach. Choose based on your marketing goals.
What are the costs of influencer marketing?
Influencer pricing varies based on follower count and engagement. Micro-influencers may charge $50-$500 per post, while top influencers charge thousands.